Behind ink on paper, the printed word, and the stunning images found in a book, lies the critical binding step, “spine preparation.” Far too often, spine preparation tools are not properly maintained or forgotten about. If ignored too long, or not properly configured, the binding process can become compromised or fail, resulting in costly resolution.
Proper spine tool selection and maintenance is integral to achieving a quality spine. Paper type and the gluing technology used are key determining factors in properly selecting which tools to use and how. Special care needs to be taken to avoid weakening or destroying valuable paper fibers that are critical to obtaining a strong adhesion with the glue.
And, whether you are using a dust milling head or a shredder head in your milling station to remove the fold of the signature, you need to make sure your knives are periodically sharpened and that the counter-knives are in good condition. Many tools today are outfitted with twin tip disposable knives, designed such that you can simply rotate them 180 degrees when worn and re-install them using the opposite (sharp) end.
In most cases, binders capable of 4,000 cycles per hour or more are equipped with either two or three of the following spine preparation stations after the milling station.
1st Station
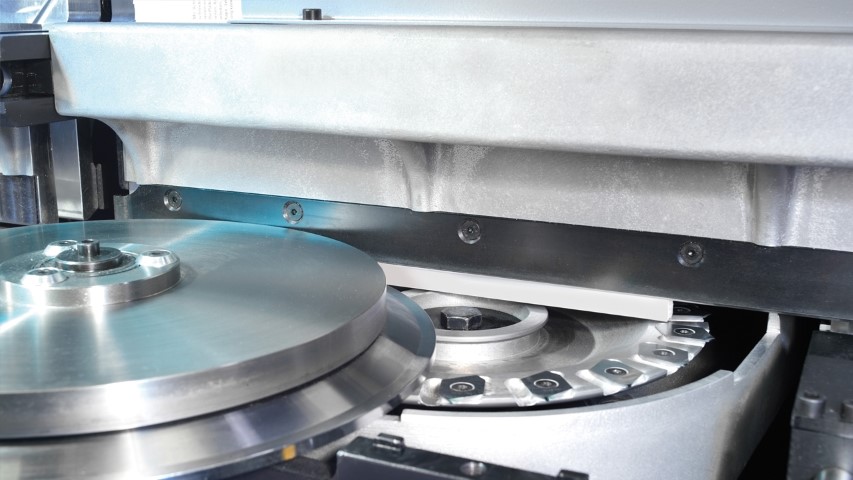
This is typically a leveling saw which is equipped with a large number of roughening teeth. As the name implies, the tool is used to compensate for the uneven trimming of the milling head and to ensure that the book spine has precise angles.

Example of three spine prep stations on an Alegro perfect binder featuring milling station …
2nd Station
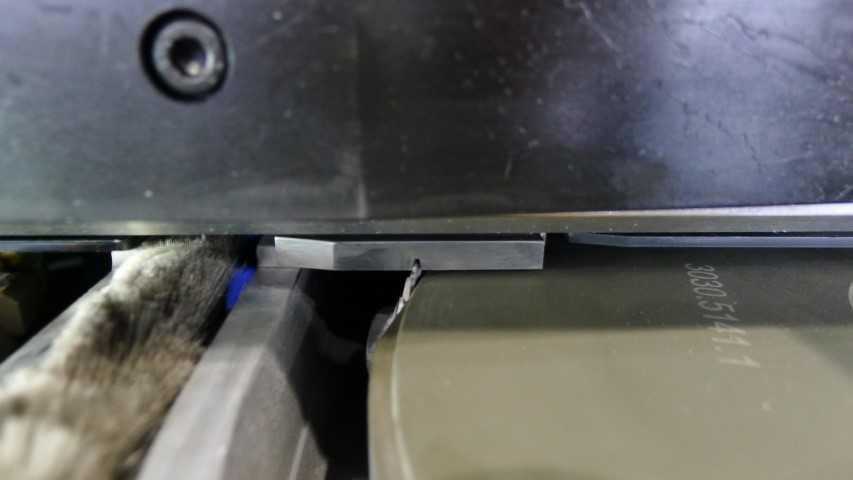
If binding with EVA hotmelt adhesives, this station normally has a notching tool. However, if PUR adhesive is used, the notching tool is typically lowered and not used, as the notching runs in a diagonal direction and the subsequent filling with glue affects the way the book opens. With PUR, a so-called micro notching tool (see also the 3rd station) is usually used. Notching tools, which are aligned diagonally to the book block, also require periodic maintenance. They are designed such that they can be manually rotated two or three teeth in position in order to utilize a new sharp area of the tool. Don’t forget about checking the position of the backing plate as well.

…notching tool…
3rd Station
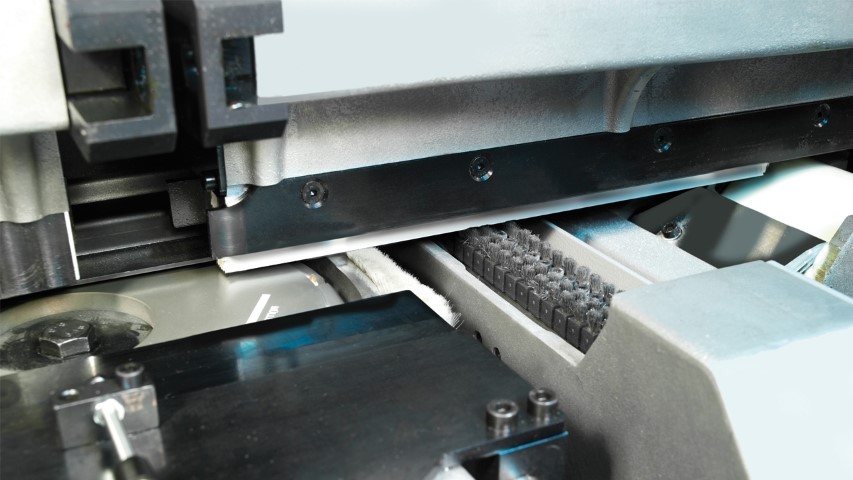
This is usually the home of the fiber rougher head and ring brush, which are used to open the paper fibers efficiently. This station has a considerable impact on the subsequent binding results and, in particular, sheet-edge adhesion, as the only binding agent for the glue are the paper fibers. This tool is usually aligned parallel to the book spine, in effect preparing the paper edges twice. This station is especially important when the signature fold is separated with a strip cutter, as this type of tool, by its nature, leaves a very smooth paper edge that makes it difficult for glue to adhere well. In addition, the use of strip cutters with certain types of paper, such as those with high filler content, can lead to increased friction and heat build-up. In the worst-case scenario, this can result in so-called line smearing. In such cases, adhesion is not possible without some additional finishing work. These tools are normally equipped with long-lasting replaceable carbide knives.

…and steel brush.
4th Station
Some binders are also outfitted with a counter rotating belt brush. Whether you have a ring brush or belt brush, these tools require special care. Worn out brushes are often overlooked. As the last tool in the line-up, they play a critical role in the removal of paper dust. The adhesive needs to bond with the paper fibers and the sheet edge must not be dusty. If your brush is worn down too far, it will leave paper dust on the spine, and this will compromise the adhesiveness and ultimately the bind quality. One way to check on the health of your brush is by stopping a book in the clamp after exiting the brush station (before gluing), applying clear box tape to the spine of the book, and then pulling it away. If there is excessive dust on the tape, it’s time to replace the brush. In this context, the correct height setting of the brush is especially important. If it’s too high, the brush will wear down too quickly. If it’s too low, it will not be effective.
Depending on how your binder was designed and the available space, some of these tools may be combined into what’s called “Tool Combinations” or “Combi-Tools.” But whatever your bindery’s configuration, make sure that you have a defined periodic maintenance check of your spine prep tooling. A simple way to check is by removing a book after applying adhesive, but before the cover is applied. Let it dry or cure and then cut the book lengthwise down the center of the spine. With the help of a small magnifying glass, ideally with a scale, you will be able to see the quality of the spine preparation and depth of notching and check the quality and amount of glue application. In many cases, it may make sense to purchase a second set of spine preparation tools so you always have a sharp set on hand.
Most importantly, avoid dull tooling and worn brushes. These culprits are often the root cause of weak or poor binding quality. And remember, don’t ignore your spine prep tools – or you may pay dearly!
Do not hesitate to contact your Muller Martini Sales or Service Representative to learn more.